
How To - Managing Table Sections and Paging Devices at Site
If the Manage Table Selections access permission has been added to a site user’s role at head office, that user will be able to manage table sections and paging devices from within Kitchen iQ.
To view and manage table sections and paging devices:
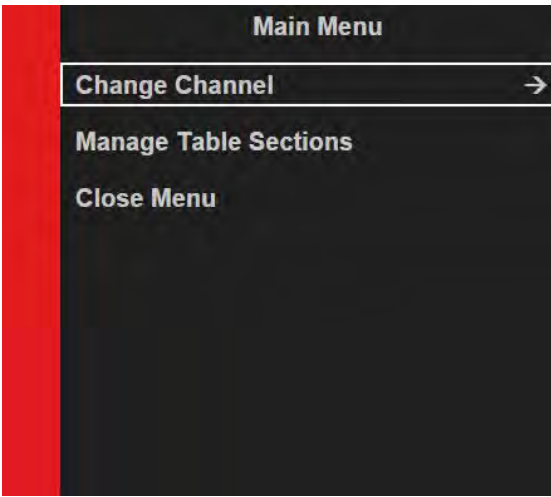
- Press the Menu button on the screen’s bump bar
- The main menu is displayed on the right-hand side of the screen.
- With Manage Table Sections selected, press the Bump button.
-
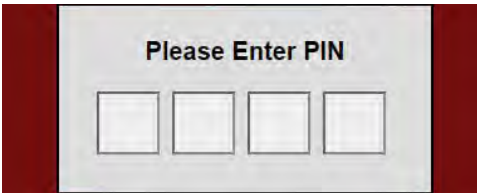
The user will be prompted to enter their access PIN. This PIN is the one set up in Aztec for the user to obtain access to the POS.
- Enter a valid PIN.
-
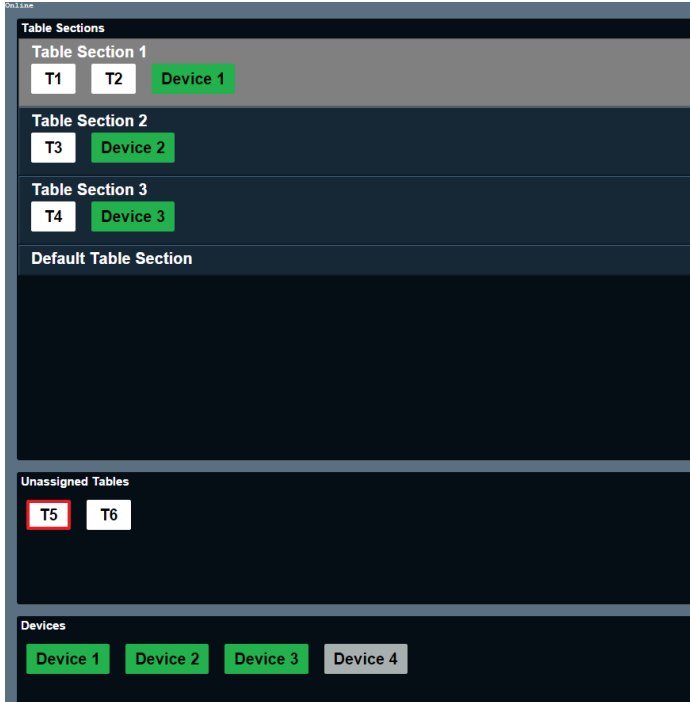
The Table Sections window is displayed.
- Use the Order Up and Order Down arrows to select the table section to which you want to assign a table or a paging device.
- Select Alt View to skip to the Unassigned Tables section.
- Use the Item Up and Item Down arrows to navigate through the list of tables and highlight the required table.
- Press the Bump button to assign the table to the selected table section.
- Select Alt View to skip to the Devices section.
- Use the Item Up and Item Down arrows to navigate through the devices and highlight the device you want to select.
- Press the Bump button to assign the device to the selected table section
-
To test the link to a paging device:
-
Highlight any device in any section and perform a long-press bump.
-
The paging device selected will be activated briefly as a test.
-
The test routine can be performed on both active and inactive devices.
-
All calibration changes are retained after a system restart
A paging device can be assigned to more than one table section, but a table can only be assigned to one.